This is a continuation from our last blogpost on getting your app setup with Dapper Wallet. Before you get started, we suggest you follow all of the steps in this previous Blogpost.
What's next?
Before your app is fully approved, in mainnet and available broadly in production, you'll need to do a few things.
Quality: Test your App Thoroughly
Mint and Transfer NFTs to a Dapper Wallet Address
Ensure Purchases work and show NFTs correctly
Submit your Contract to the NFT Catalog
Submit Your App for Approval
Quality: Testing your App Thoroughly
Mint and Transfer NFTs to a Dapper Wallet Address
The easiest way to mint and transfer an NFT is through the Niftory transfer API. In order to perform purchases on Dapper Wallet, the NFTModel (or Collectible) has to be minted first, either via API or the Admin App.
After you've created an NFT Model (also named Collectible), this API will automatically handle everything through minting and send the NFT to an address. Note: Before you do this, ensure the Wallet is setup to receive this type of NFT.
Alternatively, To mint at any time, you can go to the Niftory Admin at any time, select an item, and click Mint, then mint the item. Note: This mint is asynchronous, so it may take a little bit of time to complete. Once you refresh and see "minted" on the admin page and a blockchain ID in the mint dialog, you'll know the mint is complete.
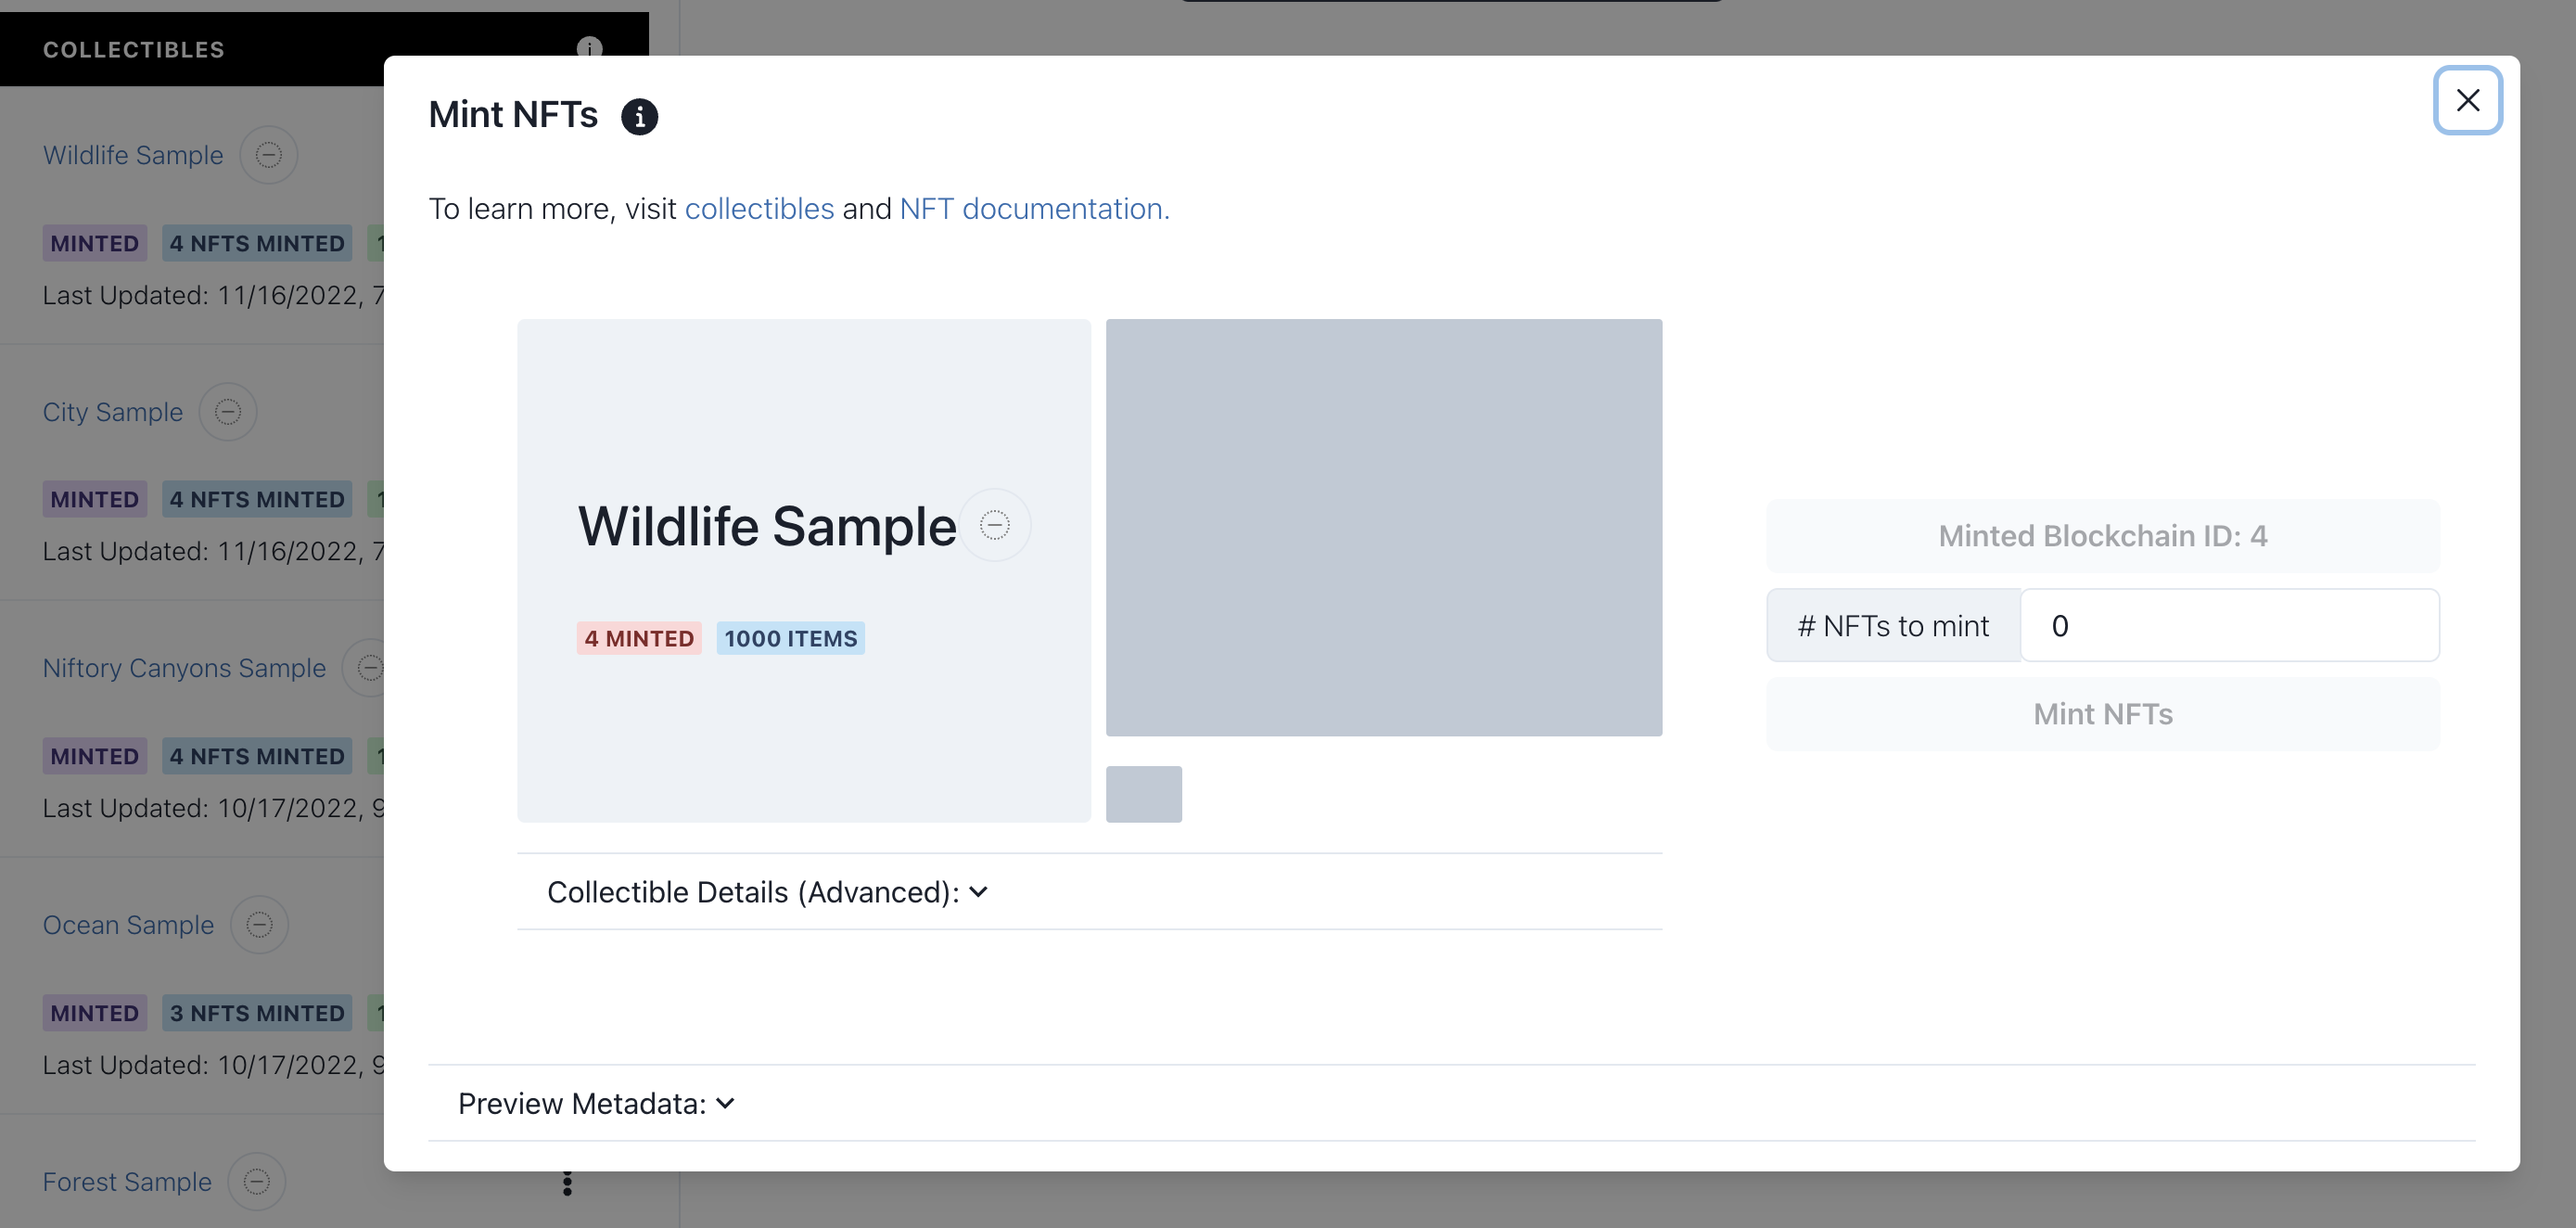
If you've done this right, you'll see this NFT in your Dapper Wallet inventory.
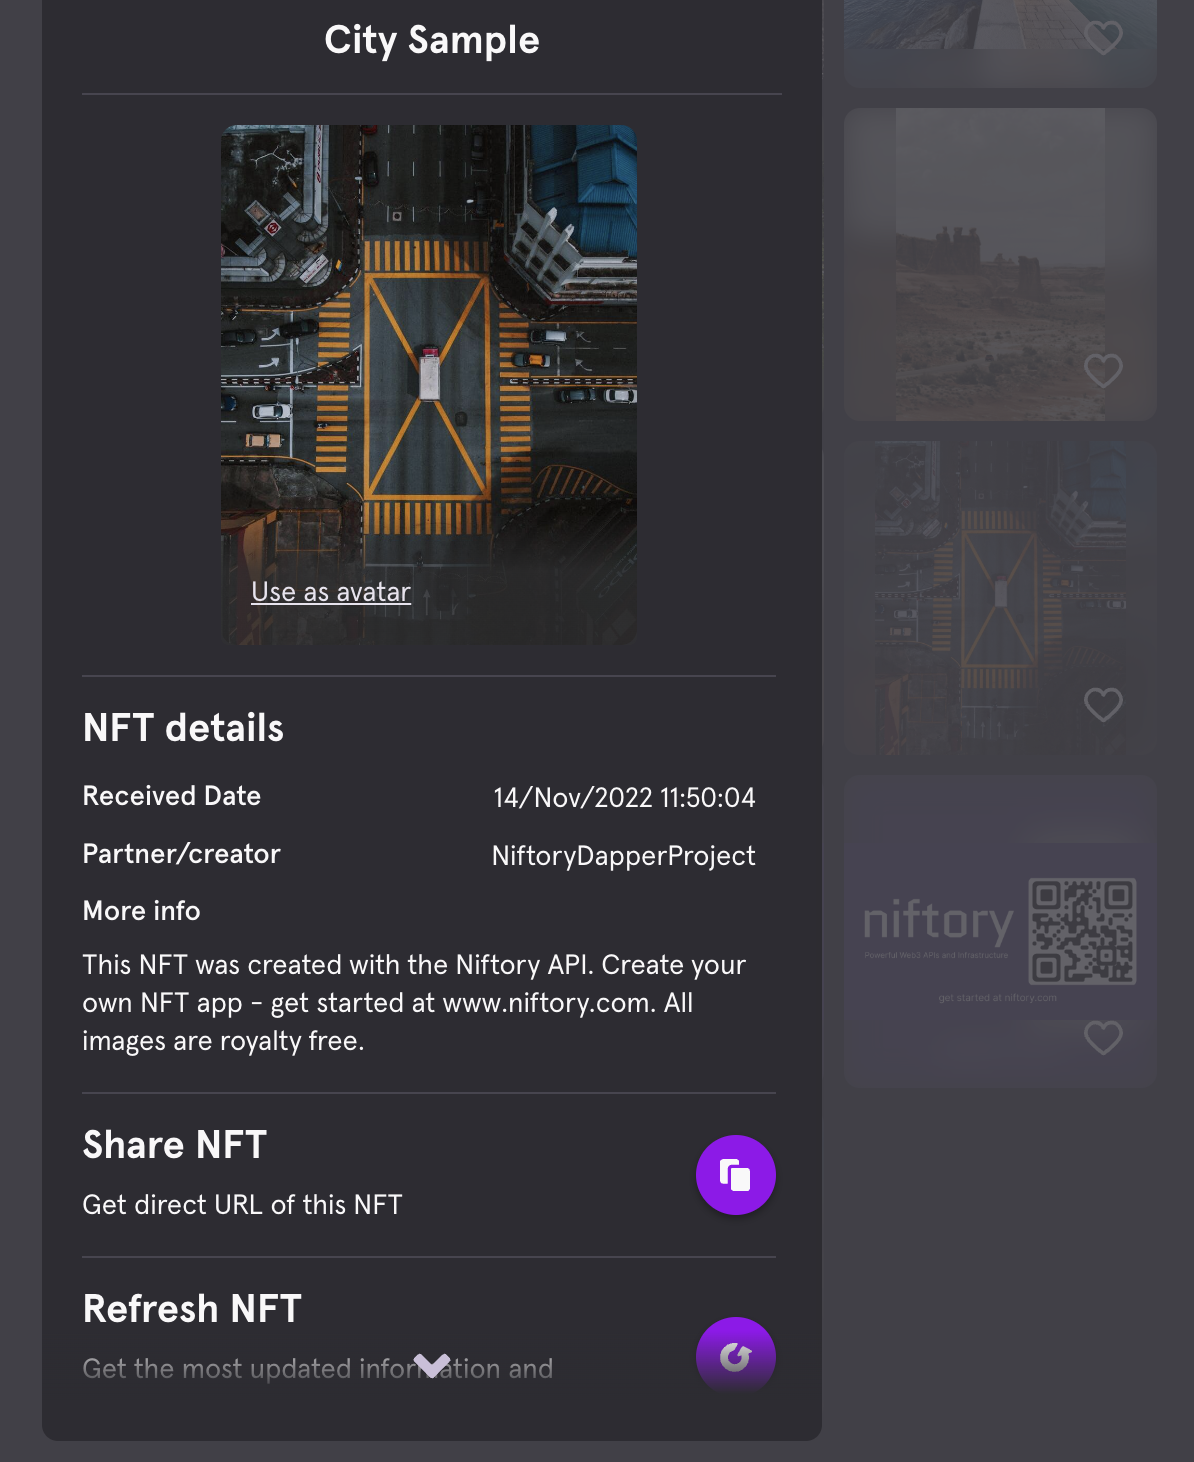
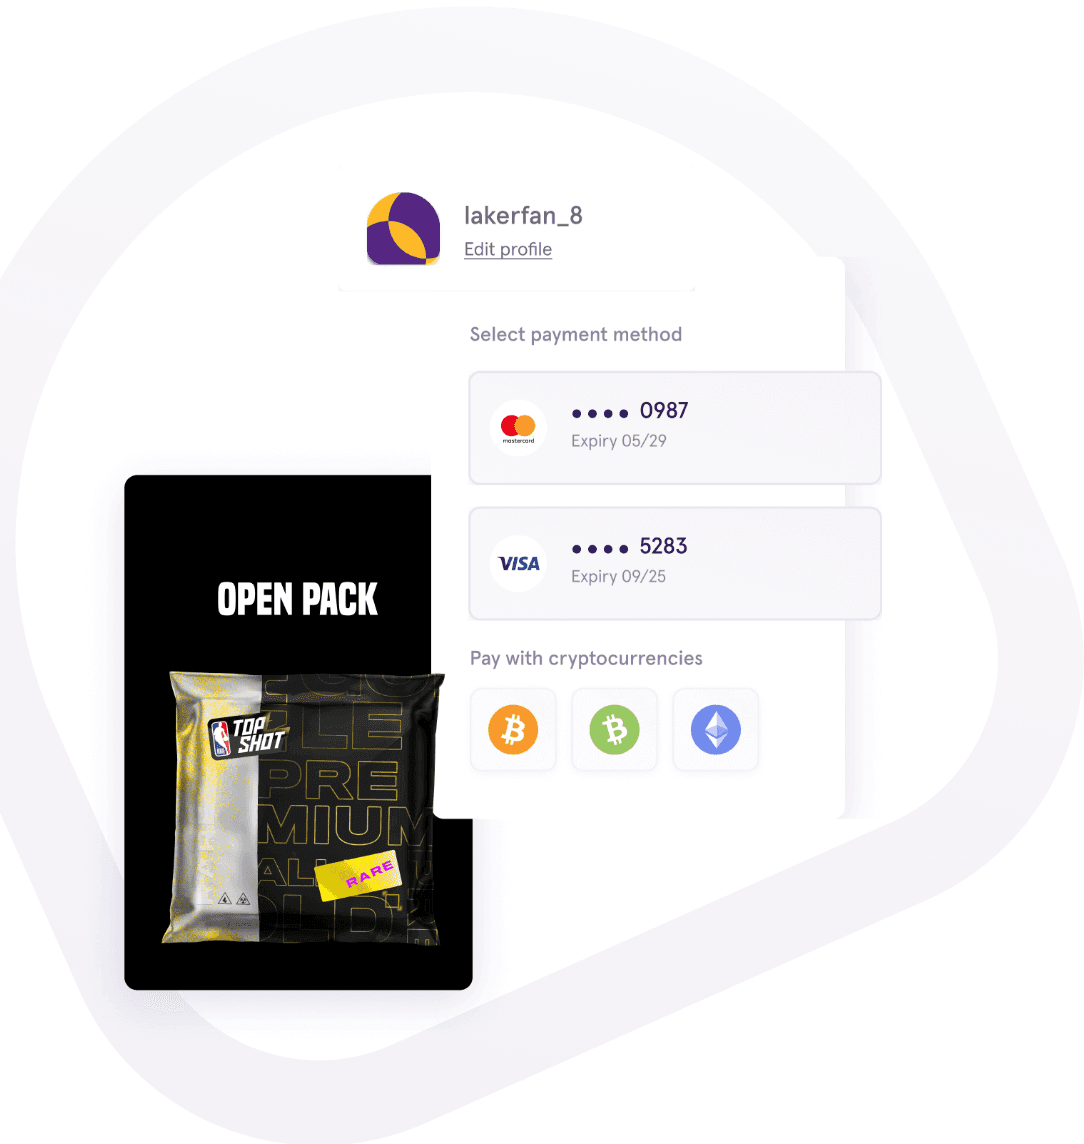
For purchases, ensure all of this same data shows up in the Dapper Wallet page.
Submit Your Contract to the NFT Catalog
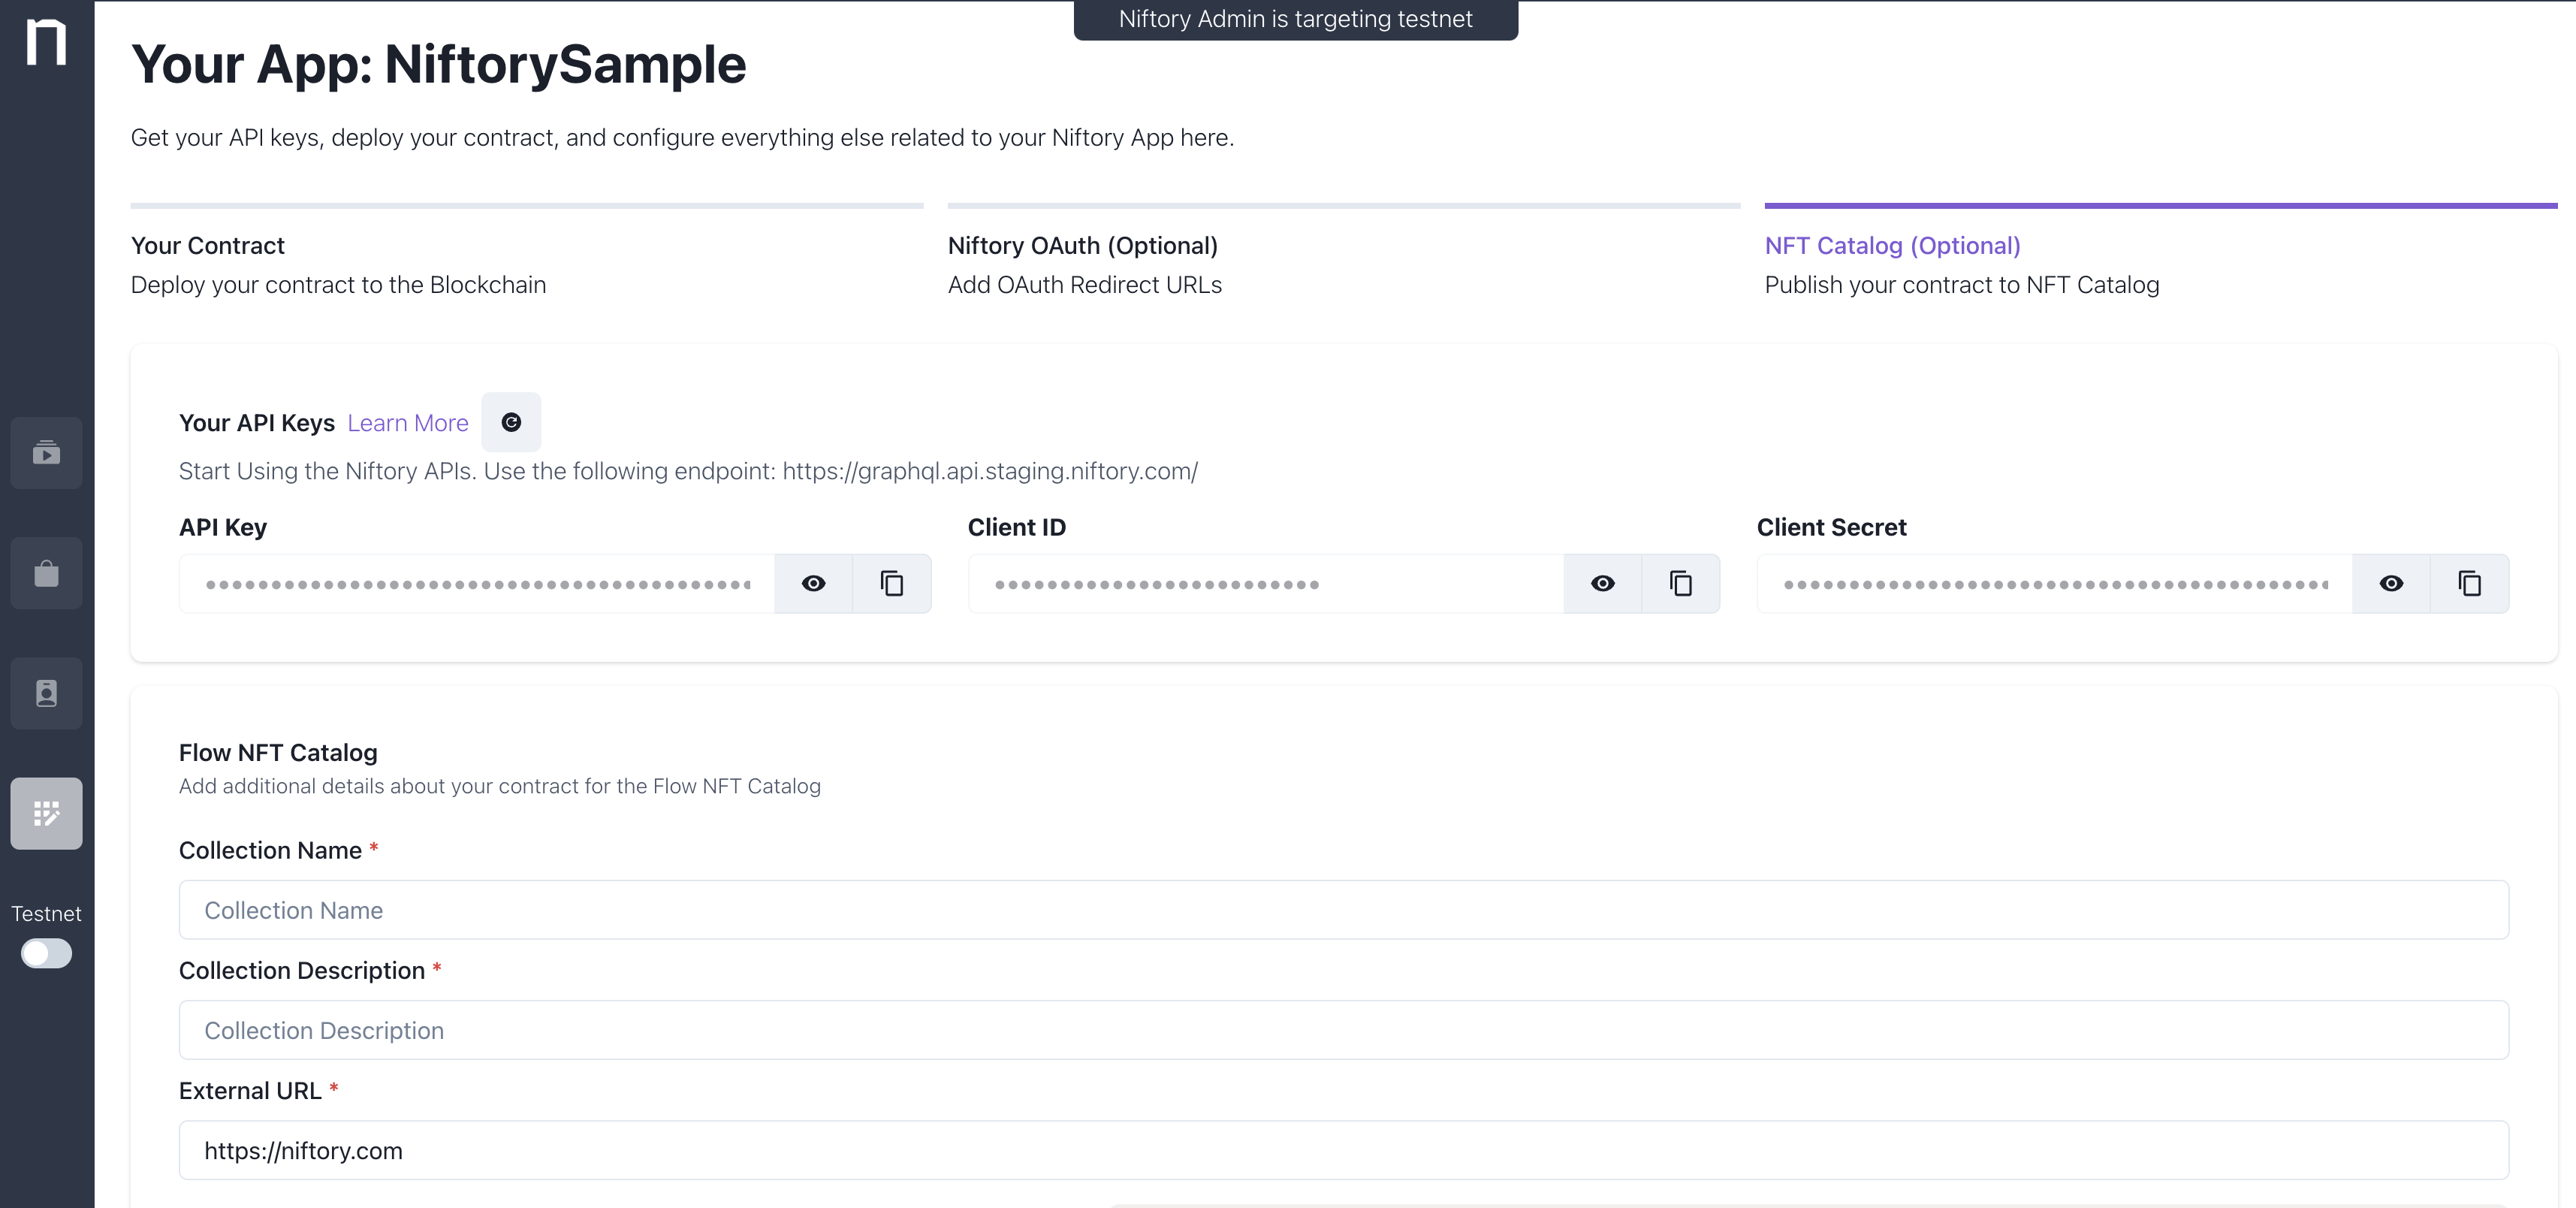
This step is easy. Simply go to your App Page, then to NFT Catalog, and add in a title, description, and images you want the Catalog to see. That's it!
Submit Your App for Approval
Once this is all done, you're all set! Go ahead and talk to your Dapper Wallet account team and start submitting your app for approval.